Crash course in Markdown syntax
Rendering your content from markdown to HTML using Quarto
1 Introduction
The goal of this workshop is to show you how to create a reproducible report using RStudio. To write reproducible reports, you need two skills. First, you need some basic knowledge about how to format your report content. Second, you need to know how to manipulate and display data within your report. This workshop will cover basic markdown and Quarto settings to create a reproducible report in HTML. We will cover formatting first, then reading in data.
To begin, create a new project in RStudio. For a demonstration of how to create a new project, see the video R Bakery developed by Barbara Monaco and Dorian Kvale for the RCamp course Tidy Data.
Click on “File” > “New file” > “Quarto Document …” to create a new Quarto document. I called mine “RCamp_reports”. In the dialog, select HTML, choose the Knitr engine, and uncheck the visual editor. In the upper left corner of the document window, there are two editor buttons, “Source” and “Visual”. Confirm that “Source” is chosen. We will not use the visual editor in this workshop.
Writing reports for Word and PDF
Quarto files can also be converted to:
- Word if you have Microsoft Word installed on your computer
- portable document format (PDF) if you have a tex compiler like MiKTeX or TexLive installed on your computer
If you want to try them, select “PDF” or “Word” when creating a new document instead of HTML. All of the formatting syntax below should work for HTML, PDF, and Word, though results may look a bit different among the three formats.
I have found Word and PDF trickier to customize than HTML, especially if you are trying to meet specific branding requirements. I will not cover them in this workshop.
Before we write our report, we need to learn how to convey our information. This section will cover common markdown formatting options for content that will be compiled to portable document format (PDF), hypertext markup language (HTML), or Word documents.
Advanced formatting options
There are many advanced formatting options in Quarto. A few common ones include:
- Use cascading style sheets (CSS) to define font and paragraph colors and styles in HTML.
- Auto-generate tables of contents and citation lists.
- Auto-number sections, footnotes, citations, tables, and figures.
- Render one Quarto document within another, for example a multi-chapter book where each chapter is a separate file or a website where each page is a separate file.
You can learn about these features and more at the links below. They are beyond the scope of this workshop.
For additional information about writing Quarto documents, including advanced and alternative methods for some of the content I will cover today, visit these websites.
The resources below are for R markdown, the predecessor of Quarto, so some markdown and coding syntax may work differently. I include them because Quarto is new and its documentation is not as robust as for R markdown.
2 The YAML
The YAML stores the metadata for your document. It includes any information that affects overall formatting when your document is rendered.
The list below includes items I often use in my own work. It is not exhaustive.
- Context: title, subtitle, author, date
- Format: various flavors of HTML, PDF, and Word, and which renderer to use
- Inclusions: table of contents, numbering sections
- Reference files: citation lists and custom style sheets, scripts, or template files
- Formatting: instructions for how to display charts, tables, paragraphs, and other content
The YAML is always at the beginning of the document. A simple version looks something like this.
---
title:    "My title"
subtitle: "My subtitle"
author:   "Marvellous me"
date:     "2025-10-16"
format:   html
---
Your turn: YAML
In the Quarto document you created, add a subtitle, author, and date. If you wish to always use the day the document is rendered, put the code date: today. You can delete all of the text under the YAML if you want. We won’t use it. Do not duplicate metadata types.
Save your file.
At any time, you can click “Render” at the top of the window to save the file, convert it to HTML, and view it. Render your document now. It will open in either the internal RStudio browser or your default internet browser, depending on your default settings.
- Did your file render correctly?
- If not, what went wrong?
3 Text modifiers
The table below shows common markdown syntax and corresponding results. The term “verbatim” refers to displaying text in monospace font the way it would look in a code editor. All example code in this training is shown using “verbatim” text.
| Syntax | Symbols | Result |
|---|---|---|
`Verbatim` code |
1 backtick at each end | Verbatim code |
**Bold** font |
2 asterisks at each end | Bold font |
*Italic* font |
1 asterisk at each end | Italic font |
~~Strikethrough~~ |
2 tildes at each end | |
x^Superscript^ |
1 carrot at each end | xSuperscript |
x~Subscript~ |
1 tilde at each end | xSubscript |
Your turn: Inline markdown
Try the following exercise. Use this paragraph, from the beginning of Alice’s Adventures in Wonderland by Lewis Carroll.
Alice was beginning to get very tired of sitting by her sister on the bank, and of having nothing to do: once or twice she had peeped into the book her sister was reading, but it had no pictures or conversations in it, “and what is the use of a book,” thought Alice “without pictures or conversations?”
- Bold Alice’s name.
- Italicize the dialogue.
- Cross out (strikethrough) “and having nothing to do”.
- Superscript “book” and subscript “reading”.
- Make “pictures or conversations” appear as verbatim code.
Render your document.
If you formatted everything correctly, you should get this.
Alice was beginning to get very tired of sitting by her sister on the bank,
and of having nothing to do: once or twice she had peeped into the book her sister was reading, but it had nopictures or conversationsin it, “and what is the use of a book,” thought Alice “withoutpictures or conversations?”
Remember:
- Use
**for bold font - Use
*for italic font - Use
~~for strikethrough - Use
~for subscript - Use
^for superscript - Use ` for verbatim code
4 Headers
Section headers (or headings) range from level 1 to level 6 and are identified in Quarto by the number of hash symbols at the beginning of the line. I show them below in a code block so you can see the syntax.
# Header 1 (Heading in Word)
## Header 2 (Heading 2 in Word)
### Header 3 (Heading 3 in Word)
#### Header 4 (Heading 4 in Word)
##### Header 5 (Heading 5 in Word)
###### Header 6 (Heading 6 in Word)
Your turn: Headers
Add a heading (header 1) to your document. As you continue through the material, add sub-headings (header 2) above each exercise. Add any explanatory text you need to help you recall later what you are doing and why.
Render your document.
5 External and internal links
Links use the syntax [title](link). For example, to link to CDC, write [CDC](http://cdc.gov). For the link to be valid, the close bracket and open parentheses need to touch, so [CDC] (http://cdc.gov) won’t work.
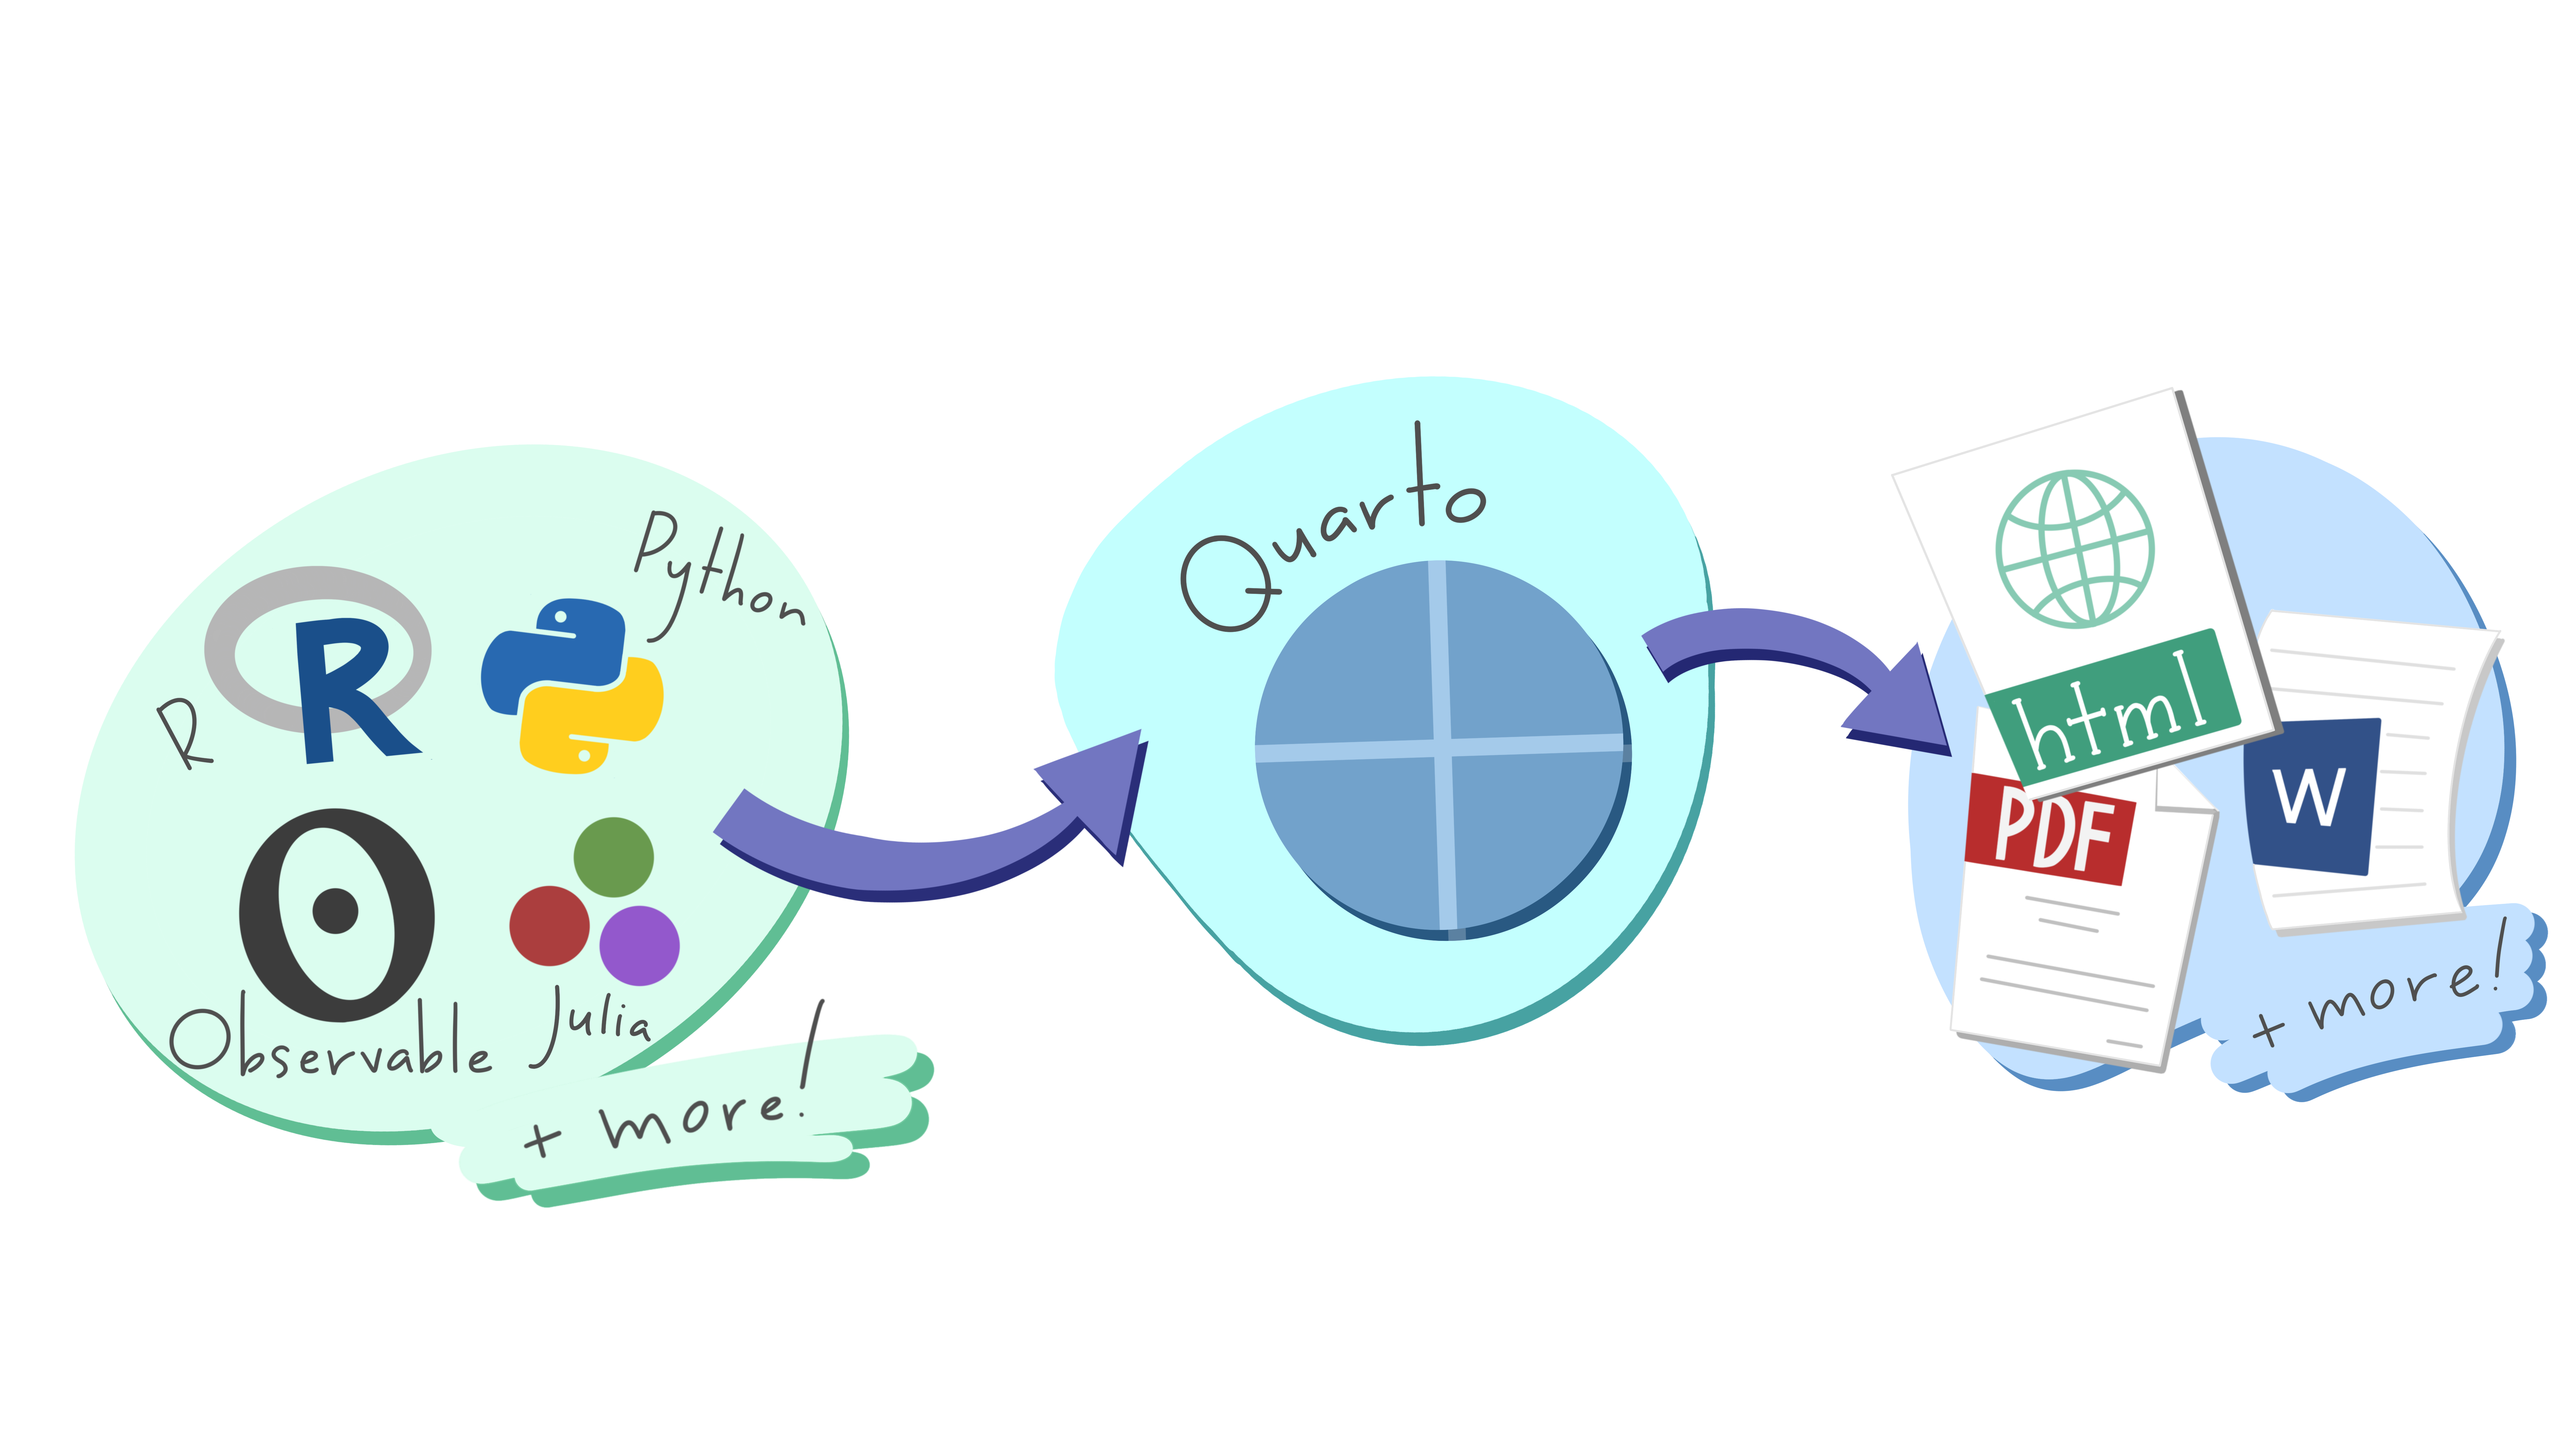
To link to an image, use the syntax {fig-alt = ""}. For example, you would use the syntax
{fig-alt="A flow chart pointing from multiple computer languages to Quarto to multiple file types" width=50%}
to read in this image from “Hello, Quarto”, the keynote presented at RStudio Conference 2022 by Julia Lowndes and Mine Çetinkaya-Rundel and illustrated by Allison Horst.
Inline notes, such as footnotes and citations, require unique alphanumeric tags to link the content to the note. To create an inline note, put brackets and carrot around your unique tag in the format quote[^tag]. A couple lines later, type your unique tag on its own line followed by a colon, then the note, in the format [^tag]: source. The tags will be auto-numbered in order.
In HTML, hovering over the tag will reveal the note and clicking on the tag will bring you to the note at the bottom of the page. For HTML, footnotes are rendered at the bottom of the webpage. For Word and PDF, they are rendered at the bottom of the printed page. You can modify settings to place footnotes at the end of sections instead, but we will not explore that here.
| Syntax | Result |
|---|---|
|
Item to note1 |
When rendering citations, Quarto can reference library files in which each source has a unique tag. For my dissertation, I used the reference manager Mendeley to export my library to a bibtex file that my file could reference. There are other methods of referencing citations in RStudio, as well. If you use an external library file, make sure to include it in your YAML.
Your turn: Links
This paragraph is from the beginning of Frankenstein; Or, The Modern Prometheus by Mary Wollstonecraft Shelley.
From Frankenstein by Mary Wollstonecraft Shelley
You will rejoice to hear that no disaster has accompanied the commencement of an enterprise which you have regarded with such evil forebodings. I arrived here yesterday, and my first task is to assure my dear sister of my welfare and increasing confidence in the success of my undertaking.
- Link the title to the webpage https://www.gutenberg.org/ebooks/84.
- Add an inline footnote at the end of the passage. The note should say “A passage from the first letter to Mrs Saville.”
Render your document.
If you formatted your links correctly, you should get this.
From Frankenstein by Mary Wollstonecraft Shelley
You will rejoice to hear that no disaster has accompanied the commencement of an enterprise which you have regarded with such evil forebodings. I arrived here yesterday, and my first task is to assure my dear sister of my welfare and increasing confidence in the success of my undertaking.2
Remember:
- For external links, use
[title](link) - For images, use
{fig-alt = ""} - For footnotes, use
quote[^tag]followed by[^tag]: source
6 Paragraph formatting
Write plain text the way you would in any word processor. To create a new paragraph, leave an empty line between paragraphs. To add a line break within a paragraph, put a backslash at the end of the line. If you want to display a backslash at the end of the line, use the syntax \. Note that backslash is a special character (also called an escape character) in markdown and R, so to display it, you may need to type it twice.
| Syntax | Result |
|---|---|
|
This is paragraph 1 without a line break. This is paragraph 2. |
|
This is paragraph 1 This is paragraph 2. |
Below is an example of the syntax for a poem in markdown.
**Spring R**, *a haiku by Abby Stamm*

Spring softly greening \
Out my window while indoors \
With R I struggle.
This is how it renders.
Spring R, a haiku by Abby Stamm
Spring softly greening
Out my window while indoors
With R I struggle.
Your turn: Paragraphs
The excerpt below is from Act II, Scene II of Romeo and Juliet by William Shakespeare.
ROMEO.
Lady, by yonder blessed moon I vow,
That tips with silver all these fruit-tree tops,—

JULIET.
O swear not by the moon, th’inconstant moon,
That monthly changes in her circled orb,
Lest that thy love prove likewise variable.
Add line breaks and paragraph breaks to match the spacing above.
Render your document.
If you formatted the excerpt correctly, you should get this.
ROMEO.
Lady, by yonder blessed moon I vow,
That tips with silver all these fruit-tree tops,—JULIET. O swear not by the moon, th’inconstant moon,
That monthly changes in her circled orb,
Lest that thy love prove likewise variable.
Remember:
- To start a new paragraph, skip an empty line
- To add a line break in a paragraph, end the line with
\
7 Lists
7.1 Unordered lists
To create unordered lists, you can use the symbols plus (+), minus (-), and asterisk (*). They all produce the same black round bullet. It is possible to customize bullets using CSS, but that is beyond the scope of this workshop.
Leave empty lines before the first list item and after the last list item.
| Syntax | Symbols | Result |
|---|---|---|
|
plus sign, then space |
|
|
minus sign, then space |
|
|
asterisk, then space |
|
There are also some special symbols for lists, such as checkboxes.
| Syntax | Symbols | Result |
|---|---|---|
|
minus sign & brackets separated by spaces | |
|
minus sign then space then brackets around an x then space |
Your turn: Unordered lists
The animated segment “I can remember” (Jim Simon, Sesame Street season 4) includes the quote, “a loaf of bread, a container of milk, and a stick of butter”.
- Make a bullet list of these groceries.
- Make a second list with checkboxes.
- Check off the items you have in your kitchen or pantry. (Vegan and gluten-free options are acceptable, too.)
Render your document.
If you formatted your list correctly, you should get this.
- a loaf of bread
- a container of milk
- a stick of butter
If you formatted your checkboxes correctly, you should get something like this.
Remember:
- Use
+,-, or*for basic bullets - Use
- [ ]for checkboxes
7.2 Ordered lists
Ordered list symbols include numbers and letters.
Warning
Most ordered list symbols require two spaces between the bullet and the item, not one. Two spaces will always work if you want to be consistent.
Some Markdown compilers will put list items in sequential order as shown below, even if you have not typed them in order. Quarto can reorder numbers and letters, but not roman numerals. Single letters except “i” or “I” are assumed to be letters, not roman numerals.
| Syntax | Symbols | Result |
|---|---|---|
|
number, then period, then one space |
|
|
letter, then period, then two spaces |
|
|
letter, then period, then two spaces |
|
|
letter, then period, then two spaces |
|
|
letters, then period, then two spaces |
|
If you want to add a second level to your list, add 4 spaces before each second level item. A shortcut is to highlight that line and press tab twice if you use RStudio’s default tab length of two spaces.
Tip
I like to create lists in which all items start with the same starting letter or number as shown below. This makes them easier to reorder and revise later.
You can mix bullet types across levels, but not within the same level. Remember, put four spaces per sub-level before each sub-item and ensure all sub-items are the same list type.
| Syntax | Result |
|---|---|
|
|
|
|
|
|
For each subsequent level, follow the same pattern as for the second level. Add four extra spaces at the beginning for each sub-level and keep list types consistent within each level.
If you want to break items in one level across multiple lines in code, just indent the item without a bullet.
| Syntax | Symbols | Result |
|---|---|---|
|
indent subsequent lines of the same item |
|
|
indent sub-items based on their level |
|
|
indent sub-items based on their level |
|
Your turn: Ordered lists
Inspired by the English Christmas song, “The Twelve Days of Christmas” (circa 1780), I invested in an aviary. I now have a peahen named Ava, a couple doves named Betty and Cam, three chickens named Dora, Emmie, and Fran, and a quartet of blackbirds named Grace, Heather, Ida, and Joy.
- Create a numbered list of the species of birds I have, from least to most.
- Under each bird species, add a lettered sub-list with the names of my birds of that species.
- As an extra challenge, use Roman numerals for one of the sub-lists.
Render your document.
If you formatted everything correctly, you should get this.
- 1 peahen
- 2 doves
- 3 chickens
- 4 blackbirds
If you formatted everything correctly, you should get something like this.
- 1 peahen
- Ava
- 2 doves
- Betty
- Cam
- 3 chickens
- Dora
- Emmie
- Fran
- 4 blackbirds
- Grace
- Heather
- Ida
- Joy
Remember:
- For numbered lists, put one space after
1. - For lettered lists, put two spaces after
a.,A.,i., orI. - All bullets in the same list and level must be the same type
8 Callout boxes
There are five types of callout boxes: note, tip, warning, caution, and important. Each box has a different color, symbol, and caption by default. In Word, callout boxes are rendered as tables, not text boxes, so they should be accessible to screen readers.
| Syntax | Result |
|---|---|
|
Important
This is important. |
|
Note
This is a note. |
|
Warning
This is a warning. |
|
Tip
This is a tip. |
|
My title
This caution has a title. |
Your turn: Callout boxes
The quotes below are excerpts from Alice’s Adventures in Wonderland by Lewis Carroll. Put each quote in the appropriate type of callout box.
- “Keep your temper,” said the Caterpillar. (important)
- “Serpent!” screamed the Pigeon. (warning)
- “If everybody minded their own business,” the Duchess said in a hoarse growl, “the world would go round a deal faster than it does.” (tip)
- For each of your callout boxes, put the speaker name in the title.
Render your document.
If you formatted everything correctly, you should get these callout boxes.
Important
“Keep your temper,” said the Caterpillar.
Warning
“Serpent!” screamed the Pigeon.
Tip
“If everybody minded their own business,” the Duchess said in a hoarse growl, “the world would go round a deal faster than it does.”
If you formatted everything correctly, you should get something like these callout boxes.
Caterpillar said
“Keep your temper.”
Pigeon screamed
“Serpent!”
Duchess growled hoarsely
“If everybody minded their own business, the world would go round a deal faster than it does.”
Remember:
The basic syntax for callout boxes is
::: callout-type
# title (if relevant)

content
:::
where type can be note, tip, warning, caution, or important.
9 Equations
To include a formula, wrap it in dollar signs. If you want the equation to be on its own line, use double dollar signs. In RStudio, when you mouse over an equation with single dollar signs, the pop-up will display how it will render and when you type an equation with double dollar signs, RStudio will show a rendering immediately below the equation.
For inline equations, $y_1 = ax^2 + bx + c$ renders to \(y_1 = ax^2 + bx + c\).
For stand-alone equations, $$y = ax + b$$ renders to
\[ y = ax + b \]
Advanced syntax for equations is outside the scope of this workshop. Read R Markdown for Scientists, Chapter 11 for an introduction to making complex equations like this formula for population standard deviation.
\[ σ = \sqrt{\frac{\sum{(x - µ)^2}}{N}} \]
To calculate simple equations in inline R code, begin the verbatim syntax with “r”.
For example, “2 + 2 =
`r 2+2`” renders to “2 + 2 = 4”.
Your turn: Equations
- Write the equation \(a^2 + b^2 = c^2\) in a sentence.
- Write the same equation centered on its own line.
- Write some R code in a sentence, such as “1 + 2 + 3” or “4^2” so that it prints out as the answer.
Render your document.
If you formatted everything correctly, you should get something like this.
- The Pythagorean theorem is \(a^2 + b^2 = c^2\).
- The Pythagorean theorem is: \[ a^2 + b^2 = c^2 \]
- 1 + 2 + 3 = 6.
Remember:
- Use
$equation$for inline equations - Use
$$equation$$for stand-alone equations - Use
`r equation`for inline calculations
10 Mixing and matching syntax
Try mixing and matching the coding options above.
- Can you put a link, a list, or bold text inside a callout box?
- Can you add a footnote to an item in your list or callout box?
- Can you add an equation to your list?
11 RCamp links
Continue to Markdown Crash Course Part 2.
Return to the RCamp main page.